How to quickly make videos that get "The Job Done"
Do you teach at UM? Do you know that making educational videos can actually be a more fun, less frustrating and less time-consuming experience? In this article, Stefan Maubach explains how he makes videos and tells you what works for him. Perhaps his tips will also help you create your own videos!
During the COVID-19 pandemic, many faculty members were forced to learn how to make educational videos quickly. How this video-making was experienced ranges from "traumatic" via "meh, it's ok to do it" to "enthusiastically accepting new methods".
Regardless of where one was located on this spectrum, and now that the pandemic is (hopefully forever) over, many have said goodbye to making videos. The reason often given is that making good videos is time-consuming and sometimes frustrating.
In this article, I want to provide some inspiration that may help you turn this into a more fun experience based on my own practice. I will do this by explaining how I make videos, and thus, I simply want to tell you what works for me. Perhaps my approach also works for you, or maybe some of the things you read, see or hear in this article are helpful to you.
Nothing in this article is mind-bogglingly new or revolutionary: many of you reading this piece may already do a few or many of the things mentioned here, and for all I know, perhaps even better. Just pick your cherries from my experience, or not; do what works for you.
Don't feel like reading? You can watch this video tutorial instead!

The setup using OBS: 5 steps
I use OBS Studio to record videos. It is a free programme that does everything you need. I only know what I need to know about this programme for my purposes. I am not an expert and may miss all kinds of (advanced) tools of this programme, but let me explain the tidbits that are important to me.
Click on the image gallery and read the captions to go through the 5 steps.


Wacom tablet
I use a Wacom writing pad. You should be able to borrow one from your department – they are not expensive. I hear people complain about writing pads quite a bit, partly understandably so, as you cannot write on them as with a pen, which can be frustrating.
The main message I want to give you here is to not decide too quickly that you cannot do it. Calm down, you will get the hang of it!
What helps is keeping your hand rested on the table. Also, note that the Wacom writing pad usually has fixed positions for your screen, meaning that a spot on the Wacom always clicks on the same spot on the screen, which is different from how you are used to working with your mouse or touchpad.
If you use Paint the way I do, Ctrl-Z is your friend to undo the last thing you wrote or drew.

My way of making videos
There are two things I hardly ever do: For one, I hate editing videos after making them, and I just do not do it at all. Also, making slides is way too time-consuming, and slides make the videos less dynamic. Typically, slides give a stationary feel to a video, but if you want to make them very dynamic, the process costs even more preparation time. I use Paint to write stuff down on (like a blackboard), but you can use any other writing or drawing tool you prefer.
For some reason, many people seem to look down on Paint, but I don't care. It works for me – and that is part of the message of the whole article: do what works for you. The way that I do it is I prepare my Paint window as far as I want and then press the appropriate key for Start recording. Whenever I am done saying what I want to say, I press Pause Recording. Most of the time, I write or draw on the Paint window while I have paused the recording. Then, when I am done writing, and I know what I want to say, I press Resume recording. I repeat this until I have finished my video, and then I press the key for Stop recording.
If I make a mistake, I start over, but most of the time, I keep the Paint window as it is, and I don't rewrite what I wrote. I do not make my videos too long and am not too critical of the result, either. I may correct myself during the video if I make a small mispronunciation or a "typo". That's fine (for me).
Video recorded – How to publish it in Canvas
This is a brief description in 6 steps of how I publish videos in Canvas. (You will find instructional videos explaining his process in Canvas as well).
Step 1
In Canvas, you will find two links on the left menu of a course page, which are important to us now.
One link is called “Mediasite videos” (green circle). This is where your videos will show up after we finish the process (and this is where the students will find it).
Then there’s “My Mediasite,” (red circle) which is where we click now. You will be directed to an environment where you can upload videos and other stuff, like presentations. In fact, you will need to click “add presentation” to upload a video.
Click on the orange block to go to Step 2.

Step 2
Now we get to a bit of an unintuitive part. This is what your screen looks like.
Click on the orange block to go to Step 3.

Step 3
Now you need to do the following:
- Move the blue dot to the other box (i.e. “My Drafts” will be unchecked, check the grey box)
- Click “Change”
- Change “User channel” to “Shared folder”
- Best choose “FSE WWW” so your students can access your videos the easiest. (Other options may be necessary if you publish sensitive material. You are on your own here, I can’t help you. I just teach math, that’s rarely sensitive. )
Finally you can click “Create presentation”. Geez!
Click on the orange block to go to Step 4.

Step 4
Yes, the video is there! Phew….
But no one can see it yet. It may take a while before The Mediasite platform has fully digested your video (“queued for processing”), but we can already do the following steps.
To the right, you see “Who can view?” I change this most of the time to “Everyone” as then my students don’t always need to log in, etc., and can watch stuff more freely.
You need to add the video to a course. For this, click “Edit details” at the top right. (No, do not click “publish”. That may work, too, but I didn’t need it nor figured it out.)
Click on the orange block to go to Step 5.

Step 5
Now you are on this screen, and you need to scroll down to “Add module”. Click that.
Click on the orange block to go to Step 6.

Step 6
Oh, that's the list of all Canvas courses ever made! So, click the "Search" looking glass to the top right! You'll need to type in something recognisable from the title of your course. Is your course BENC1004? Please don't type in that recognisable code; it won't work! It is not at the beginning of a word or something, so then the very intuitive (not :-/ ) search function won't find it.
So, experiment with what works to find your course. Choose your course, and don't forget to click Save when you are done.

Yes! That's it. Finally, your video is uploaded. You can imagine that doing this for the first time without any help takes ages…. But now you know that while it's a big clickfest, after a while, it's available there, and shared with your course.
Afterthought
I hope this article was entertaining and helpful in creating and uploading your own videos for your course. And let me repeat the mantra that I mentioned often throughout my story – do what works for you. And – have fun doing it!
By Stefan Maubach, Teacher, Department of Advanced Computing Sciences, Faculty of Science and Engineering
This article is a publication of edUMinded, the Maastricht University online magazine on Teaching & Learning.
Interested in more Teaching & Learning insights?
Also read
-
Count your cards and do your maths!
By designing a card game, maths tutors at the Department of Advanced Computing Sciences increase their student’s engagement with linear algebra.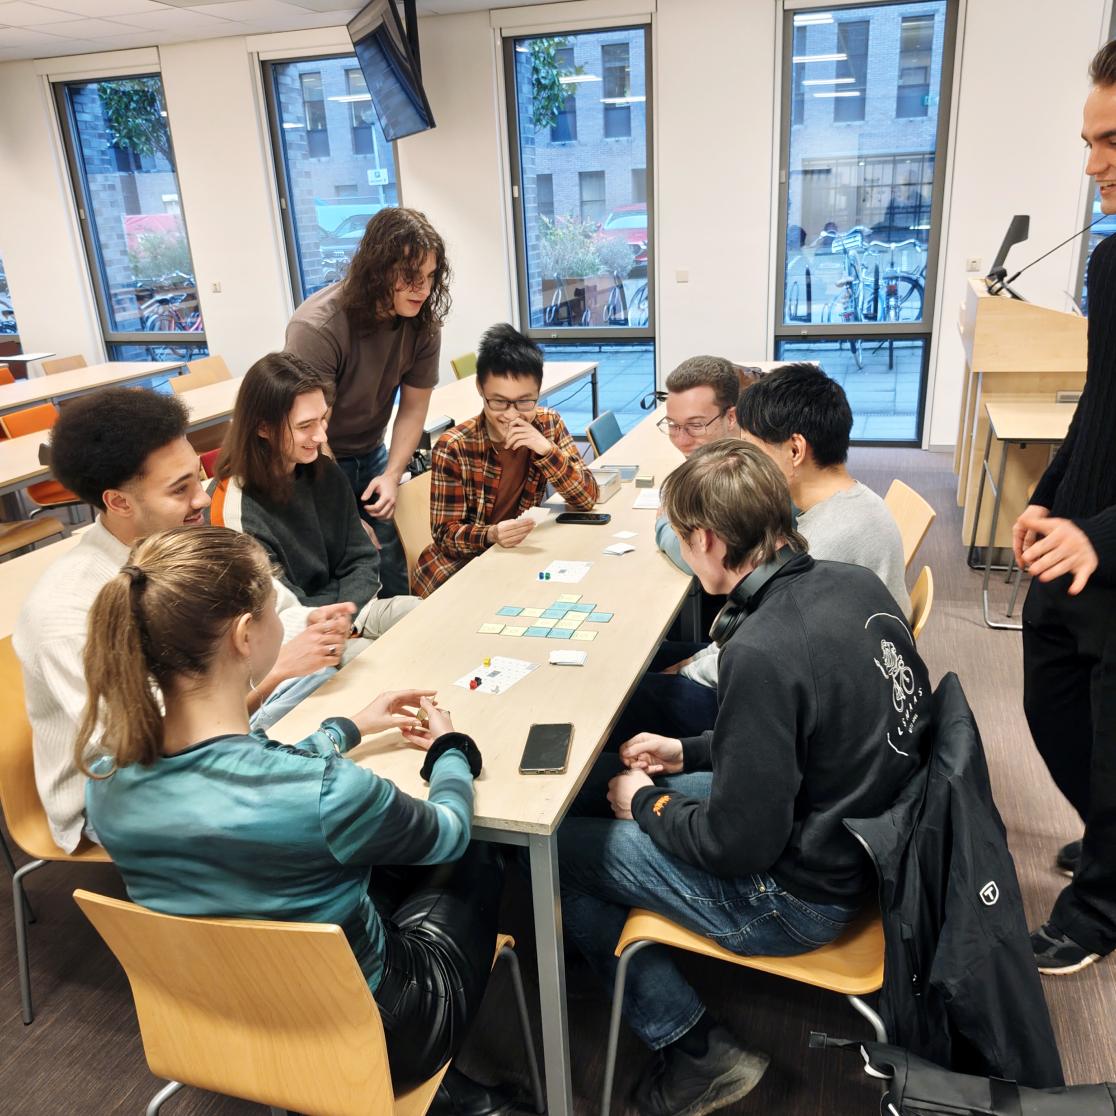
-
Making calculus sustainable!?
A calculus course is not the obvious place for sustainability. Yet Circular Engineering student Leoni Haller helped rethink her mathematics course with sustainability-related examples, showing how calculus formulas can be taught in a real-world context.
-
UM builds open education and digital literacy into BKO/UTQ
Maastricht University is taking a practical step to support early-career teachers: open education and digital literacy will be built more firmly into the BKO/UTQ.